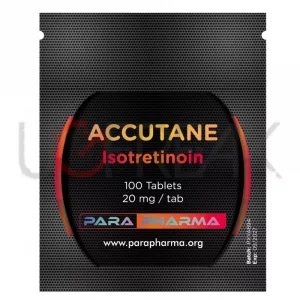
Ancillaries
75.00$
US Domestic Express (4-7 Days)
97.00$
UK Domestic
75.00$
International
75.00$
International
90.00$
International
250.00$
US Domestic Express (4-7 Days)
350.00$
Gen-Shi Labs international
Original price was: 190.00$.160.00$Current price is: 160.00$.
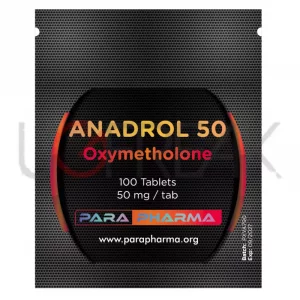
Dragon Pharma
89.00$
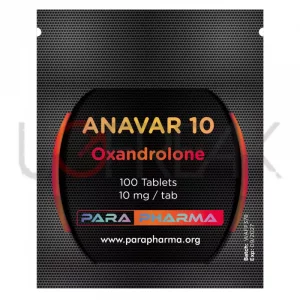
International
79.00$
Ancillaries
60.00$

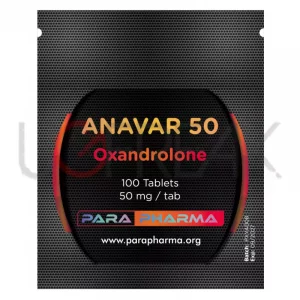
Dragon Pharma
156.00$